



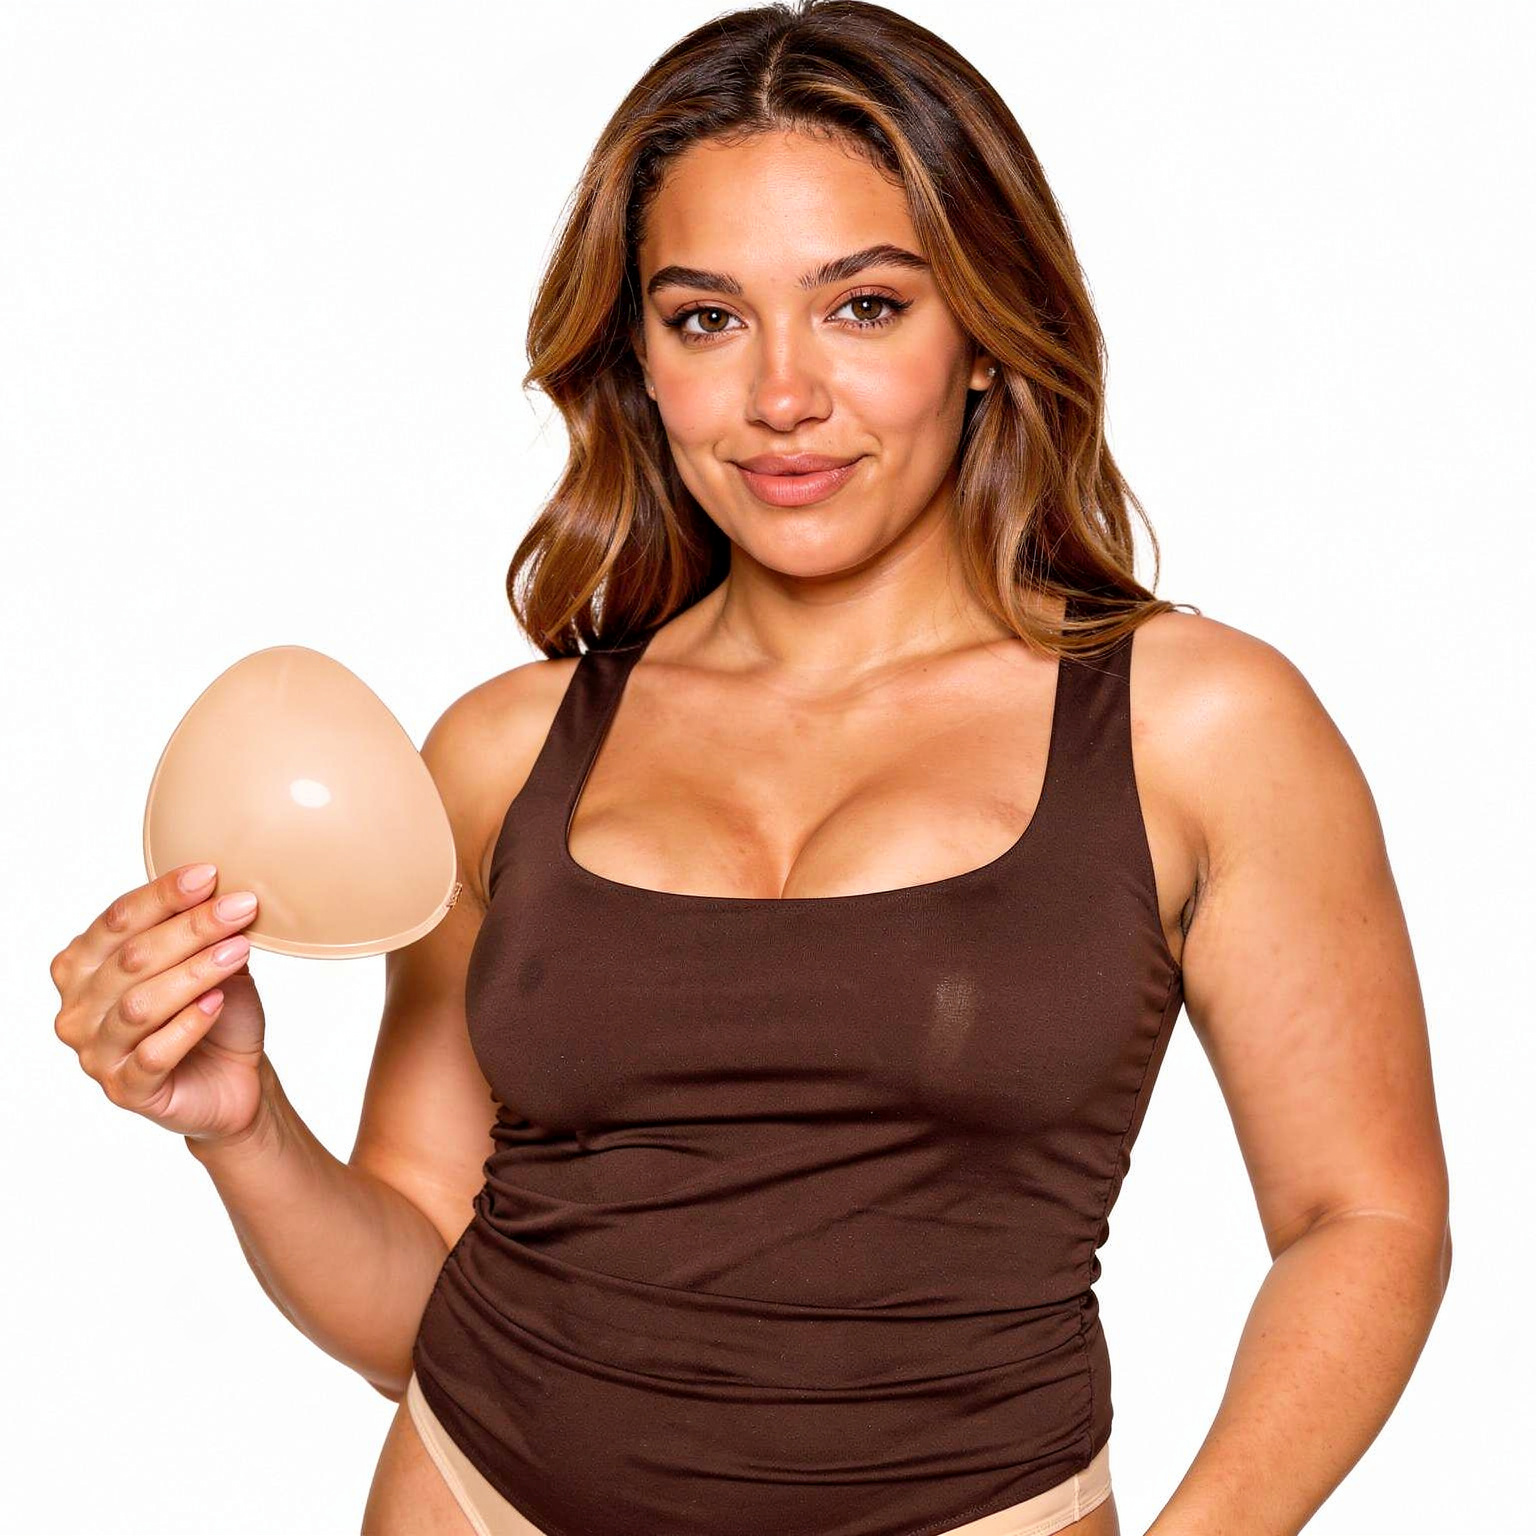
That gorgeous backless dress should not come with a side order of bra straps, slipping tape and constant mirror checks. Knowing how to apply adhesive breast inserts properly gives you the lifted, fuller look you want while letting your outfit do its thing. The secret is not simply sticking them on - it is starting with clean skin, choosing the right position for your boobs, and pressing with purpose.
Whether your girlies are itty bitty, uneven, naturally soft, saggy, heavy or somewhere wonderfully in between, a good application can make a dramatic difference. Think bra-free lift, enhanced cleavage and a smoother shape under the outfits conventional bras were never invited to.
Before You Apply: Prep Your Skin Properly
Adhesive inserts need a clean, dry canvas. This is the bit people rush through, then wonder why their lift has gone a bit rogue by the end of the evening.
Shower as normal, then make sure the breast area is completely dry before applying. Skip body lotion, body oil, SPF, perfume, shimmer and fake-tan residue where the adhesive will sit. Even a light layer can reduce grip. If you have applied skincare earlier in the day, gently cleanse the area with mild soap and water, then dry it thoroughly with a clean towel.
Avoid applying inserts to broken, sunburnt, irritated or freshly shaved skin. If you have sensitive skin or are trying a new adhesive product for the first time, a small patch test ahead of your big night is a very sensible move. Your boobs deserve glamour, not drama.
Keep your hands clean and dry too. Oils from your fingertips can transfer to the adhesive surface, making it less sticky over time. Set yourself up in front of a mirror with decent lighting, ideally before getting fully dressed. Wrestling an insert into place through the neckline of a fitted dress is not the vibe.
How to Apply Adhesive Breast Inserts for Lift
The biggest mistake is placing adhesive inserts directly over the centre of the breast and hoping for lift. To create that perkier, supported look, the insert needs to sit lower than you might expect and be lifted into position as you apply it.
Start by standing upright in front of the mirror. If your breasts are softer or fuller, gently support one breast with your free hand. Peel away the protective film from one insert, being careful not to touch the sticky side more than necessary.
Position the lower edge of the insert beneath the fullest part of your breast, rather than high on the chest. Hold the breast where you want it to sit in your outfit, then press the insert upwards and on to the skin. Smooth from the bottom upwards and from the outer edge towards the centre, using your palm to remove air pockets and help the adhesive make full contact.
Hold it in place for around 10 to 15 seconds. Body warmth helps the adhesive settle, so a firm press is your best friend here. Repeat on the other side, then take a step back from the mirror before making any adjustments.
For a natural lift, aim to position both breasts slightly up and towards the centre of your chest. For more cleavage, bring each breast inwards before pressing the insert into place. You are effectively deciding where your boobs sit, which is rather powerful for something you can do in your bedroom in a few minutes.
Start Lower Than Your Instinct Tells You
If the inserts feel like they are not lifting enough, they are often sitting too high. A lower starting point gives you more room to guide the breast upward. This matters especially for saggy, heavier or fuller boobs, where a small placement change can transform the final shape.
If you are petite or have a smaller bust, you may prefer a slightly more centred placement for a rounded, fuller effect. If you have a larger bust, work one side at a time and use your hand to gather the breast upwards before applying. Do not rush the second side just because the first one looks fabulous already.
Match the Placement to Your Outfit
Your inserts should support the look of the clothing, not follow one fixed rule. A plunge neckline, halterneck and backless dress all ask for something slightly different.
For a low-cut or plunge top, place the inserts a little more towards the outer underside of each breast, then lift inwards. This gives you a central, confident cleavage without visible bra cups peeking out.
For a strapless dress, focus on upward placement. Support the breast from underneath and press firmly so the lift looks even from the front and side. Put the dress on after the inserts, then check that the edges remain hidden when you move your shoulders and arms.
For backless or side-boob styles, keep the inserts within the coverage of the garment. Before committing to the final position, hold the insert against your skin while wearing the outfit or use the mirror to check where the fabric falls. A tiny reposition now saves a lot of fiddling later.
If your breasts are uneven, do not force identical placement. One side may naturally sit lower, fuller or wider than the other. Place each insert according to the boob in front of you, not according to a perfectly symmetrical diagram. Adjusting one insert a centimetre higher or more inward can create a much more balanced result.
Check Your Lift Before You Leave
Once both inserts are in place, move around a little. Raise your arms, twist from side to side, sit down and take a look from the front and profile. The lift should feel secure, not painfully tight, and the outer edges should lie flat against the skin.
If you spot a wrinkle, trapped air or an edge that is lifting, gently peel that section back and smooth it down again. Avoid repeatedly removing and reapplying the entire insert, as this can reduce adhesion. Small corrections are usually enough.
Then put on your outfit and do one final check under natural light if you can. Look for visible edges around the neckline, particularly with thin, pale or satin fabrics. The goal is not to look like you are wearing clever support. The goal is for people to wonder why you look so good in that dress.
Common Adhesive Insert Mistakes
Most application issues come down to skin prep, placement or wearing the wrong size. If an insert will not stay put, lotion, oil, sweat or damp skin is usually the culprit. Let your skin cool and dry after a hot shower, and apply before you start getting ready in a warm, steamy bathroom.
If the result feels flat rather than lifted, reposition lower and lift the breast into the insert as you press. If cleavage looks too wide, guide each breast more towards the centre before smoothing the adhesive down. If cleavage looks overly pushed together, move the inserts slightly outward and let your natural shape breathe.
Size matters too. Inserts that are too small may not provide enough surface area for a secure lift, especially on fuller or heavier breasts. Ones that are too large may show beneath narrow necklines. This is why broad sizing is more than a nice extra - it is what helps real boobs get a result that looks intentional rather than improvised.
Boobify's Boob Job in a Box™ is designed for a broad range of boobs, from AA through to O cups, so you can choose support that actually suits your shape rather than squeezing yourself into a one-size-fits-all fantasy.
Make Your Inserts Last Longer
After wearing them, peel the inserts away slowly from the edge rather than tugging them off quickly. Your skin will thank you. Follow the care instructions supplied with your pair, and keep the adhesive surfaces clean and protected between wears.
Generally, you should avoid leaving adhesive inserts loose in a drawer where dust, fluff and curious handbag debris can find them. Store them with their protective films in a clean, dry place. If the adhesive becomes coated in lint or residue, its grip will suffer - and no one wants a last-minute outfit emergency before drinks.
Do not wear adhesive inserts overnight, and give your skin a break if it feels sore or irritated. A brilliant bra-free look should still feel comfortable enough for you to enjoy the occasion, dance badly, eat dessert and forget you are wearing them.
The first application may take a few extra minutes, especially while you work out your favourite lift and cleavage placement. Give yourself that time. Once you know where your boobs look their absolute best, getting dressed for a backless, strapless or low-cut moment becomes less of a logistical mission and much more of a reveal.


Leave a comment
This site is protected by hCaptcha and the hCaptcha Privacy Policy and Terms of Service apply.