


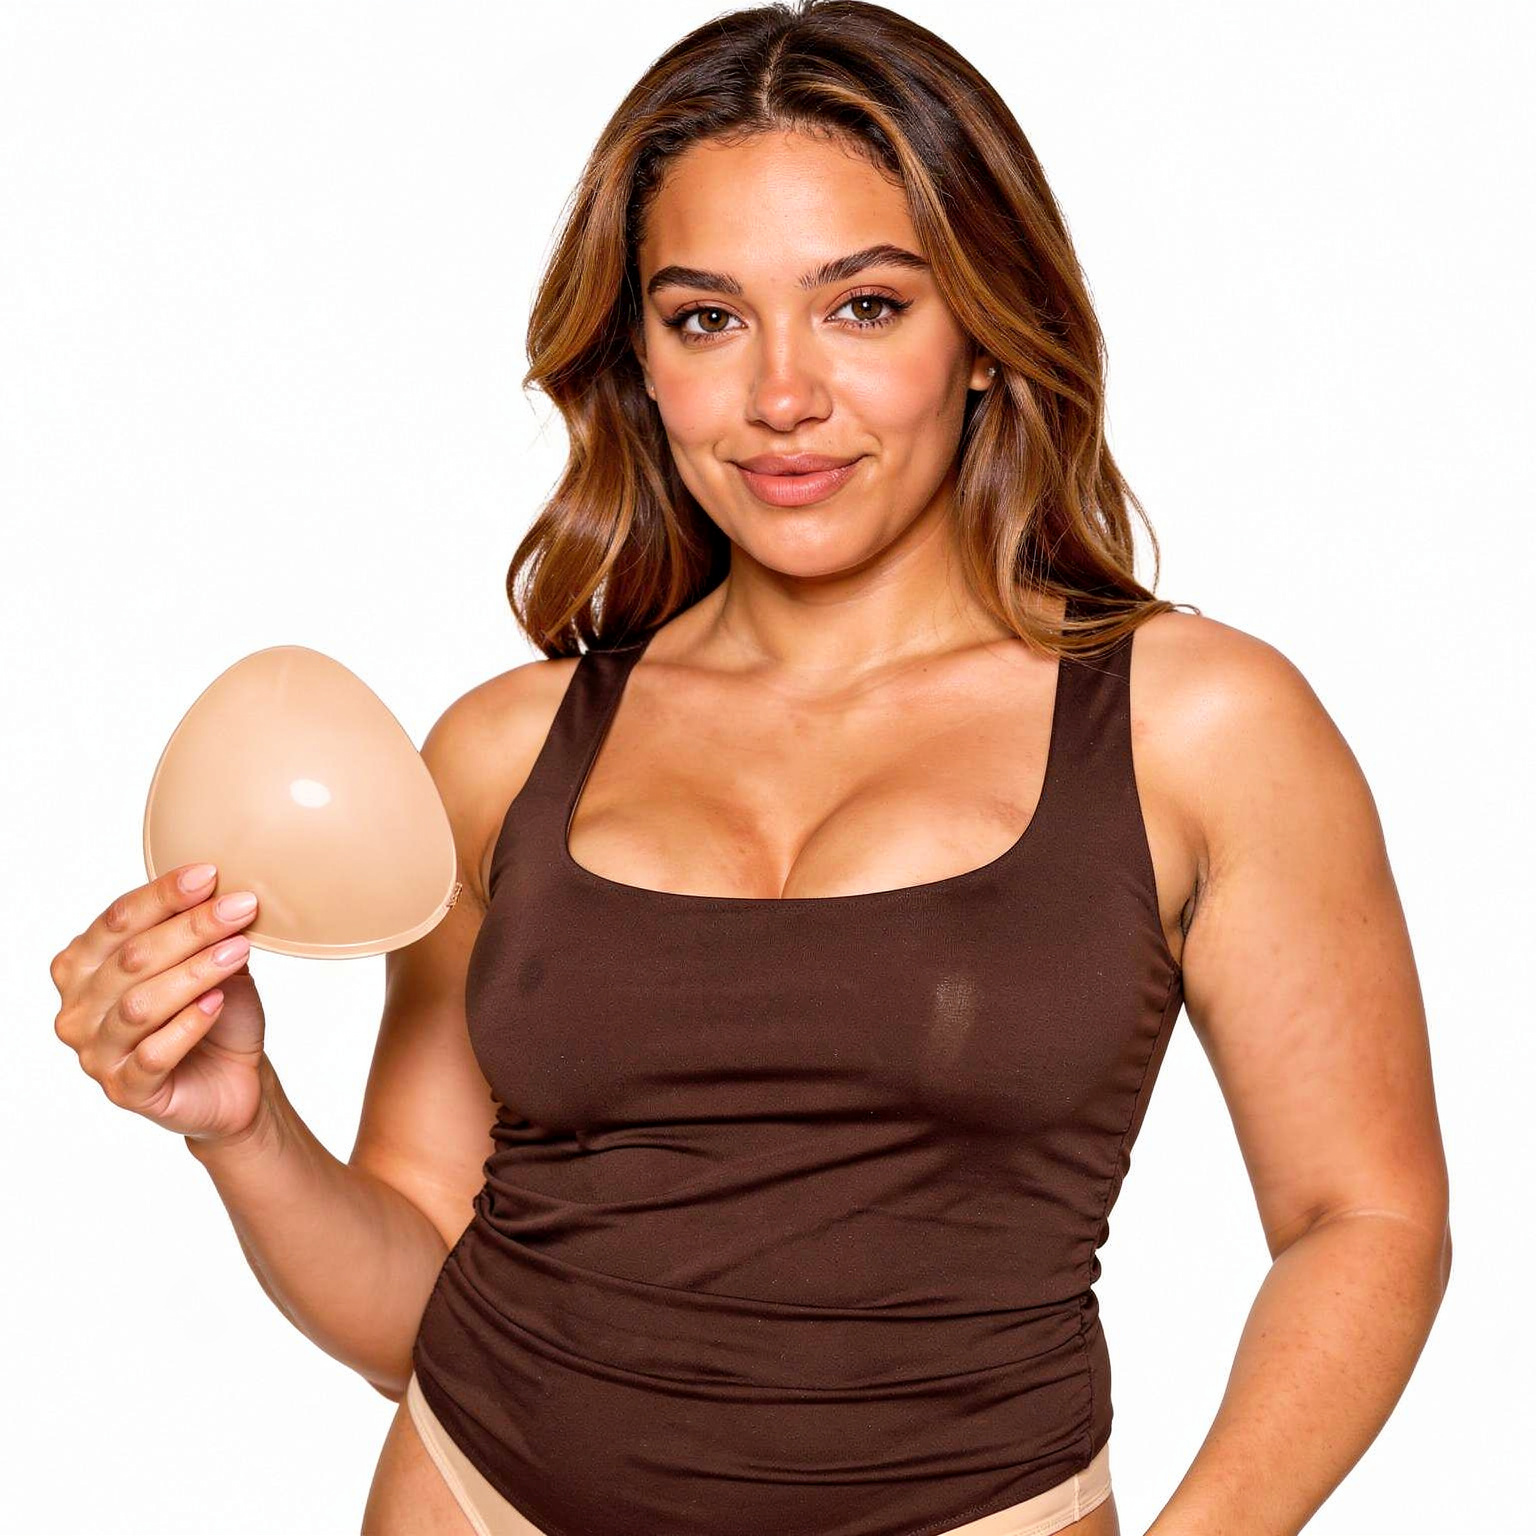

That dress is doing the most, your bra is absolutely not invited, and suddenly the question is: how to choose cleavage inserts that will actually stay put, lift the girlies and give you the shape you had in mind? Fair. Not every sticky insert is made for every boob, neckline or level of lift.
The right pair should feel like your best bra’s confidence boost without the straps, wires or relentless back-band squeeze. Whether you are itty bitty, beautifully busty, uneven, post-baby, naturally saggy or simply want a little more oomph, the trick is choosing for your body and your outfit - not the cup size you wish you had.
Choose cleavage inserts for the lift you want
Start with the result, because “cleavage” means different things on different bodies. Do you want your boobs pushed together for a fuller, centred line? Do you need them lifted higher in a plunge dress? Or are you after a smoother, rounder shape under a fitted top?
Cleavage inserts work by supporting and repositioning your natural breast tissue. They are not a one-shape-fits-all magic pad, so be honest about what you want them to do. A smaller bust may be looking for enhanced fullness and a closer cleavage line. A fuller bust may prioritise a secure upward lift and support that lets a backless dress sit properly.
If your boobs are naturally uneven, choose according to the larger side so you have enough coverage and hold. You can then position each insert slightly differently to create a more balanced look. Your boobs are allowed to be sisters, not twins. The insert placement is where you fine-tune the final shape.
Cup size and band size both matter
Cup size tells you about breast volume, but band size helps indicate the width and placement your inserts need to work with. Guessing based on a small, medium or large label can leave you with inserts that are too narrow to support your boob properly or so wide that they peek out at the sides.
Measure yourself in a non-padded bra, or use your most reliable current bra size as a starting point. If your weight, hormones, pregnancy, breastfeeding or menopause have changed your shape recently, measure again. The size printed in an old favourite bra is not a lifelong contract.
Look for a brand with proper size coverage rather than expecting one standard pair to serve every body. Boobify’s adhesive lift inserts are available from AA to O cups, with a broad range of band sizes too, because fuller, heavier boobs deserve bra-free outfit options just as much as smaller ones do.
Match the insert shape to your outfit
Your outfit has the final say. Even brilliant cleavage inserts can be wrong for a particular neckline if the edges are likely to show or the garment gives you nowhere to hide them.
For a deep V-neck or plunge, prioritise inserts that lift from below and the outer breast, bringing tissue upwards and inwards while keeping the centre low enough for the neckline. The goal is noticeable cleavage without a visible adhesive edge ruining the reveal.
For strapless tops, bandeau dresses and sweetheart necklines, coverage and lift are key. Choose inserts large enough to hold the lower part of the breast securely. A tiny insert may add a bit of volume, but it will not deliver the stable, rounded shape that keeps you comfortable through dinner, dancing and the inevitable group photo.
Backless and side-boob outfits need careful positioning. Check where the fabric finishes at the sides and under the arm before applying anything. A wider insert can be great for lift, but only if your dress covers it. If your outfit is very low at the side, a more discreet shape may be the smarter choice.
For halternecks and high-neck fitted tops, you may not need dramatic cleavage at all. A gentle lift and a smooth, rounded silhouette can look more expensive than trying to force a push-up effect that does not suit the garment.
Think about coverage, not just cup size
The bigger or heavier your boobs, the more surface area you generally need for a dependable hold. This is where many generic sticky bras disappoint: they are designed around a narrow standard-size idea of a body, then act shocked when they cannot support real boobs.
If you have G+ boobs, soft tissue, a fuller lower breast or a more pendulous shape, avoid choosing the smallest insert just because you want it hidden. Too little coverage can mean less lift, less comfort and more adjusting. A correctly sized insert gives the adhesive more skin contact and gives your boob a proper base to sit on.
On the flip side, if you are AA to B cup, an oversized insert can feel awkward and make positioning harder. You want an insert that follows your natural breast shape, then creates lift without swallowing your chest. Fuller-looking does not have to mean obviously padded.
Pick a colour that disappears on your skin
Nude is not one universal shade. The right colour should fade into your skin under lighter fabrics, flash photography and the sort of changing-room lighting that exposes every detail.
Choose the shade closest to your natural skin tone, especially for white, sheer, crochet or pale-coloured outfits. A colour mismatch may still be fine under a lined black dress, but it is worth getting right if your outfit is thin or your neckline is doing a lot of work.
If you are between shades, consider the fabric first. A darker insert may be less noticeable beneath a dark outfit, while a lighter nude can work better under pale fabrics. Test it under the actual garment before the event rather than discovering the answer in a nightclub loo.
Do not skip the adhesive reality check
Good adhesive is what makes a bra-free lift possible, but skin prep matters just as much as the insert itself. Apply to clean, dry skin with no body lotion, oil, perfume, fake tan residue or powder on the area. Those products create a barrier, and your adhesive cannot grip through your favourite shimmer moisturiser.
If you have sensitive skin, do a small patch test before wearing inserts for a big occasion. Do not apply over irritated, broken or sunburnt skin, and remove them slowly rather than ripping them off when you are tired at 1am. Your skin deserves a soft exit.
Sweaty summer weddings, long festival days and humid dance floors can affect adhesion. That does not mean inserts are off the table - it means preparation and realistic expectations matter. Take time to apply them properly, press firmly as directed and save your first-ever wear for a lower-stakes outfit rather than ten minutes before the main event.
A quick fit check before you commit
Once your inserts are on, put the outfit on and move like you mean it. Raise your arms, sit down, bend slightly, turn sideways and check the neckline in natural light. You are looking for a secure feel, hidden edges and cleavage that suits the garment rather than fights it.
Ask yourself four things:
- Is there enough coverage to hold my boobs comfortably?
- Are the inserts hidden from the front and sides?
- Does the lift look balanced on both sides?
- Can I breathe, move and forget they are there?
Give yourself permission to practise
The first application is not your final exam in Boob School. Positioning adhesive cleavage inserts can take a couple of tries, especially if you are aiming for a particular neckline or correcting unevenness. Practise with an old top at home, get familiar with the angle that gives you the lift you love, and take a few photos from the front and side.
The best choice is the insert that works with your natural shape, disappears under your outfit and makes you stand a little taller. Ditch the bra if you fancy it, keep the lift, and let the dress have its moment.


Leave a comment
This site is protected by hCaptcha and the hCaptcha Privacy Policy and Terms of Service apply.