



A plunging dress can look completely different when your boobs are lifted, centred and sitting exactly where you want them. Learning how to create cleavage without a bra is less about chasing one perfect trick and more about matching your support method to your bust, your outfit and the kind of va-va-voom you fancy that day.
For some girlies, a little lift is all it takes. For others - especially if your boobs are heavy, soft, saggy or uneven - cleavage comes from creating secure upward support first, then bringing the breast tissue gently towards the centre. No wires digging in, no straps peeking out, no need to rearrange your whole outfit around a bra.
Start with the outfit, not the cleavage
Your neckline does some of the work for you. A deep V, sweetheart, wrap or square neckline naturally frames the centre of the chest, making even a subtle lift look more defined. A high neckline can still look gorgeous and lifted, but it will not create the same visible cleft - and that is not a styling failure, it is simply the cut of the garment.
Fit matters too. A dress or top that is slightly structured through the bust will hold your shape in place better than a very loose, thin fabric. If you are wearing a bodycon style, look for material with enough weight to skim rather than cling to every edge. For backless and strapless looks, choose a support option that stays hidden while giving your boobs a clear upward direction.
Cleavage is not always about pushing boobs together as tightly as possible. Sometimes the most flattering result is a rounded, fuller shape with a soft centre line. Particularly on a fuller bust, a little space can look more natural and feel far more comfortable.
How to create cleavage without a bra using adhesive lift inserts
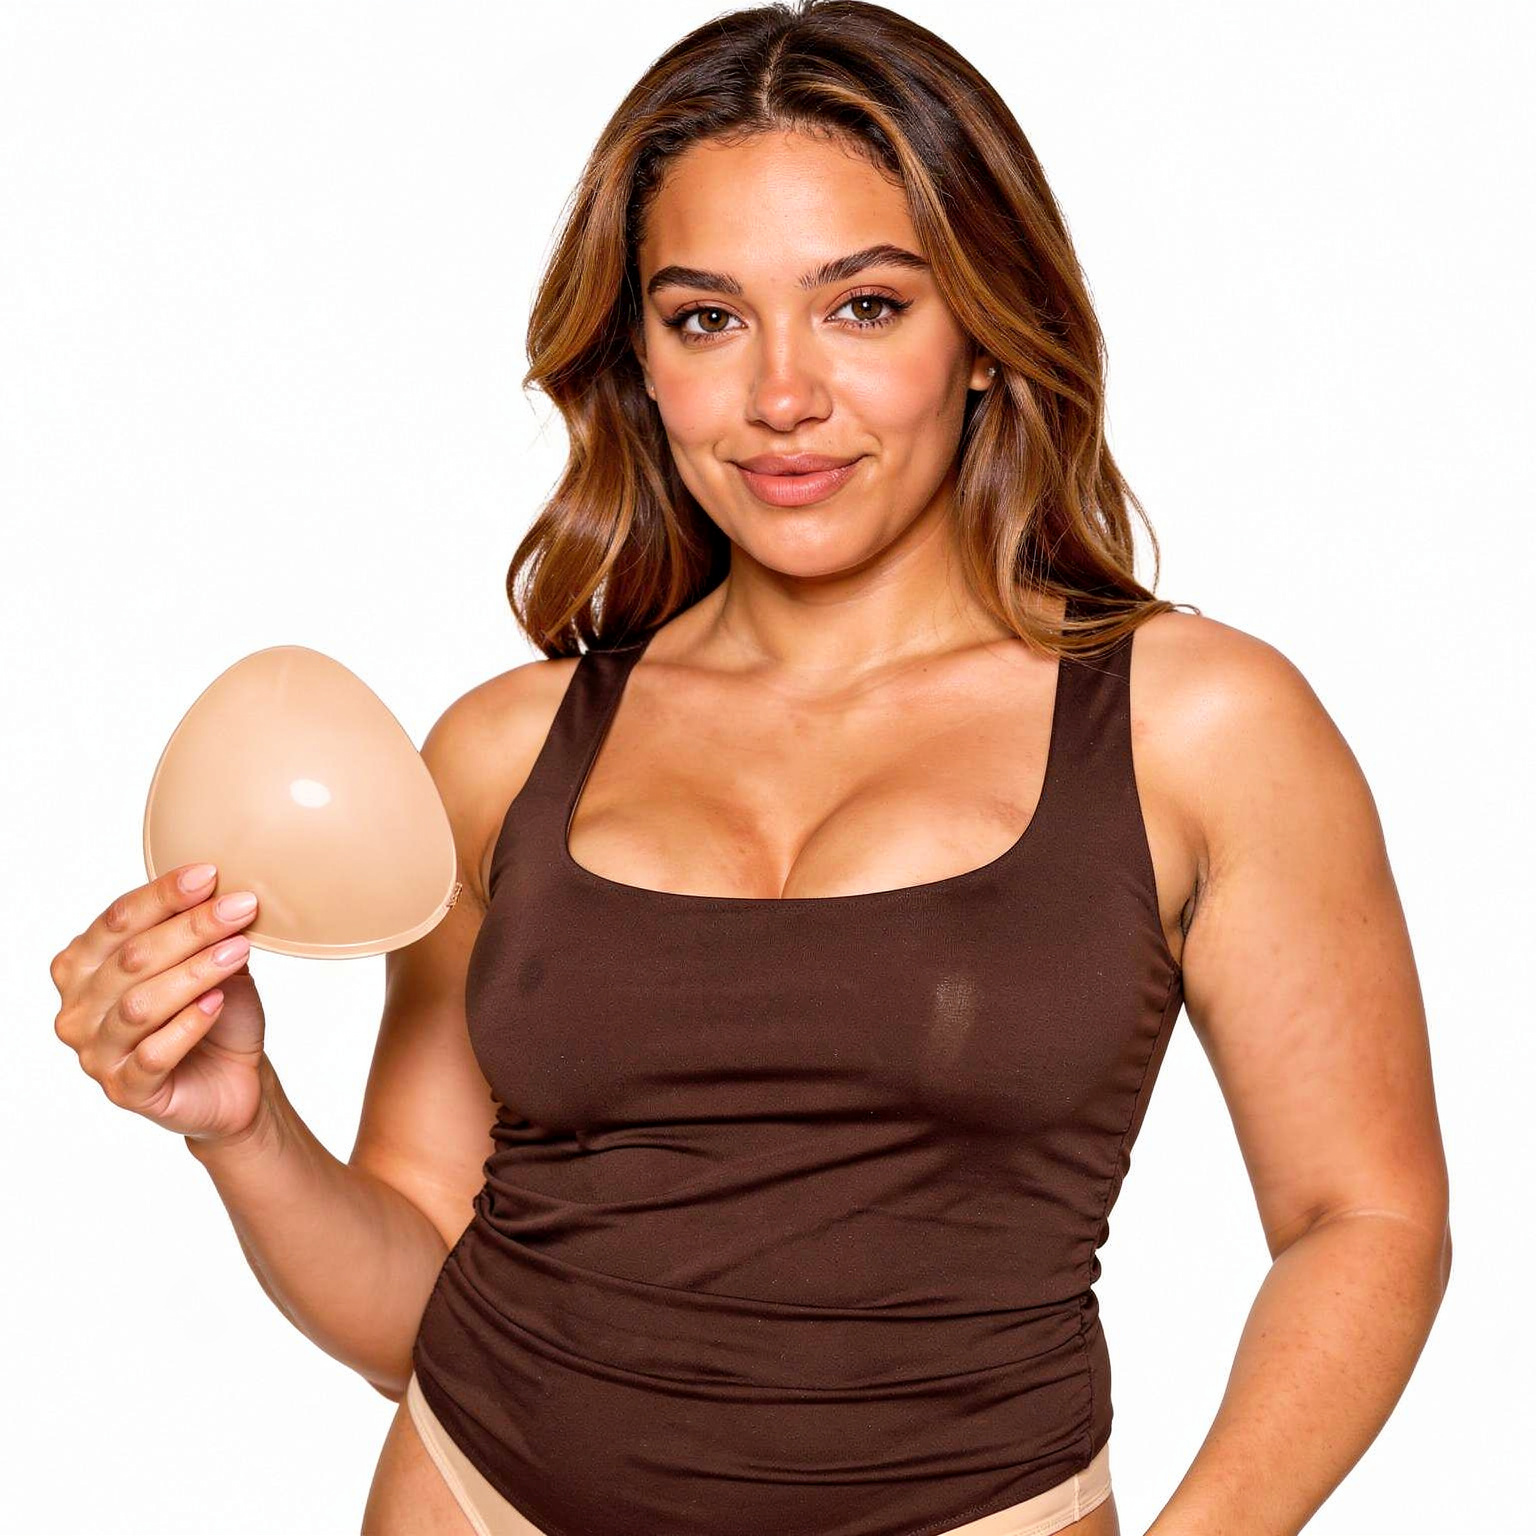
Adhesive lift inserts are one of the most reliable bra-free options because they can lift from above rather than squashing your boobs from the sides. The key is placement. Instead of sticking them on while standing normally and hoping for magic, use your hands to lift your breast into the position you want first. Then apply the insert while holding that shape.
For more cleavage, lift each breast upwards and slightly inwards towards the centre of your chest before securing the adhesive. The result should feel supported, not pulled so tightly that your skin feels uncomfortable. Give yourself a moment to put your top on and check the shape in a mirror. Tiny adjustments in angle can make a surprisingly big difference.
This approach works for itty bitty boobs wanting a fuller, more rounded look, but it can also be brilliant for larger busts that need actual lift before cleavage can happen. The Boobify Boob Job in a Box™ is designed across AA to O cups, so the goal is not to force every body into the same tiny sticky-bra mould. Your boobs deserve support that makes sense for their size and weight.
Apply inserts only to clean, dry skin. Skip body lotion, oil, perfume and fake tan around the area, as these can affect adhesion. If you have sensitive skin, do a patch test first and follow the product's wear and removal guidance. Never apply adhesive products over broken, irritated or sunburnt skin.
Try breast tape when your outfit needs a custom shape
Breast tape can be useful for awkward necklines, side cut-outs and very open dresses where a standard support shape might show. It is flexible, so you can build the direction of lift around the outfit rather than trying to make your outfit work around your boobs.
For cleavage, start each strip low on the breast, lift upwards, then angle slightly towards the centre. Avoid pulling too hard. The aim is to hold the breast in a flattering position, not flatten it against your chest. Use nipple covers underneath for comfort, and press the tape down firmly as you apply it.
Tape does take practice. It can be a fab option for one-off occasionwear, but many people find it less convenient for long events, warm weather or a quick Friday-night outfit change. Removal needs patience too: soften the adhesive as directed and peel slowly, never rip it off like a wax strip. Your skin will thank you.
Use fashion tape for outfit control, not breast lift
Fashion tape has a different job. It is brilliant for securing a wrap neckline, stopping a dress from gaping and keeping fabric exactly where it should be. That can make your cleavage look cleaner and more intentional, but fashion tape alone is not a substitute for proper lift.
Use it after you have chosen your support. Once your boobs are positioned, place a small strip between the fabric and skin at the neckline edges. This is especially handy if you are dancing, leaning forward at dinner or heading to an event where a wardrobe wobble is absolutely not on the guest list.
Give your boobs a better starting position
The fastest no-cost trick is posture, but not the stiff, shoulders-back-until-you-cannot-breathe version. Stand tall, relax your shoulders down and gently open through your chest. This naturally brings your bust forward and stops the top half of your body from folding over your shape.
If your boobs tend to sit wide apart, use your hands to settle them into the position you want before applying any adhesive support or pulling on a fitted top. A few seconds of intentional placement can create a more centred silhouette than simply putting clothes on and hoping everything lands perfectly.
For uneven boobs, work with the breast that sits lower or has less volume. You might place its insert fractionally higher, or use a slightly more inward angle, to balance the overall look. Symmetry does not have to mean both sides are identical. It means the finished silhouette feels good to you.
Choose the right amount of cleavage for your bust
More is not automatically better. Small busts can create a striking push-together effect, particularly in a sweetheart or deep-V top, but very strong inward positioning may look less natural in a high-cut neckline. Fuller boobs often look their best with an uplifted, rounded shape and a softer centre, especially under fitted dresses.
Your outfit also decides how dramatic to go. A day-to-day linen top may only need a little lift and shape. A wedding guest dress, birthday look or holiday evening outfit can handle more upper-boob fullness. If the garment is thin or pale, check your final look in natural light and move around before leaving the house. What looks perfect standing still can shift once you sit, reach or dance.
Common mistakes that flatten the effect
The biggest mistake is applying adhesive support too low. If the insert or tape starts without enough lift, it may hold your boobs in place but will not create that raised, rounded shape. Start by physically lifting the breast, then secure the support where it needs to sit.
Another common issue is wearing moisturiser beforehand. A gorgeous body lotion might smell lovely, but it can stop adhesive from gripping properly. Finally, do not judge the result before putting your outfit on. Cleavage is a partnership between your boobs, your support and your neckline. The mirror check only counts once all three are working together.
A bra-free look should feel like freedom, not a complicated engineering project. Experiment at home before the big night, take a few photos from different angles, and keep the version that lets you forget about your boobs and get on with looking unreal.


Leave a comment
This site is protected by hCaptcha and the hCaptcha Privacy Policy and Terms of Service apply.