



If you have typed “how to create rounded bust” into a search bar, chances are you are not asking for a whole new pair of boobs. You want that lifted, centred, softly full shape that makes a square-neck top, slinky dress or bikini suddenly look chef’s kiss. The good news? A rounded bust is mostly about lift, placement and what your outfit is doing around your girlies - not a painful procedure or being squeezed into a bra you cannot wait to take off.
Your natural breast shape, fullness and skin elasticity all play a part, so there is no single trick that looks identical on everybody. But whether you are itty bitty, naturally uneven, post-baby, saggy, heavy or somewhere in between, you can create a fuller-looking silhouette with the right approach.
What creates a rounded bust shape?
A rounded bust has three visual ingredients: the breast tissue sits higher on the chest, it is brought slightly inwards for a more defined cleavage area, and the upper part of the breast looks full rather than flat. Think of it less as making your boobs bigger and more as changing where the volume appears to sit.
A traditional push-up bra can do some of that work, but it is not always the answer. Thick padding can create a shelf-like line under fitted clothes, while straps and bands immediately ruin a backless, strapless or plunge outfit. For bigger busts, an ordinary sticky bra may offer a bit of coverage but very little actual lift. That is why placement matters far more than simply adding padding.
How to create a rounded bust with lift and placement
The most flattering rounded shape starts before anything sticky goes near your skin. Stand in front of a mirror, put on the top or dress you plan to wear, and check where the neckline needs your bust to sit. A low neckline usually needs lift and gentle inward positioning. A high-neck fitted dress may only need upward lift for a perkier profile.
With adhesive breast-lift inserts, begin with clean, dry skin. Skip body lotion, oils and fake tan on the area, because adhesive needs a clear surface to grip properly. Lean forward slightly and use your hand to guide each breast upwards and towards the centre before securing the insert. This is the bit that changes the final shape: applying too low can leave you with more coverage but no wow-factor lift.
Do one side at a time, then step back and check the overall shape before getting dressed. Most boobs are sisters, not twins, so do not panic if one needs a touch more lift or a slightly different angle. Small adjustments can make a big difference to cleavage and symmetry.
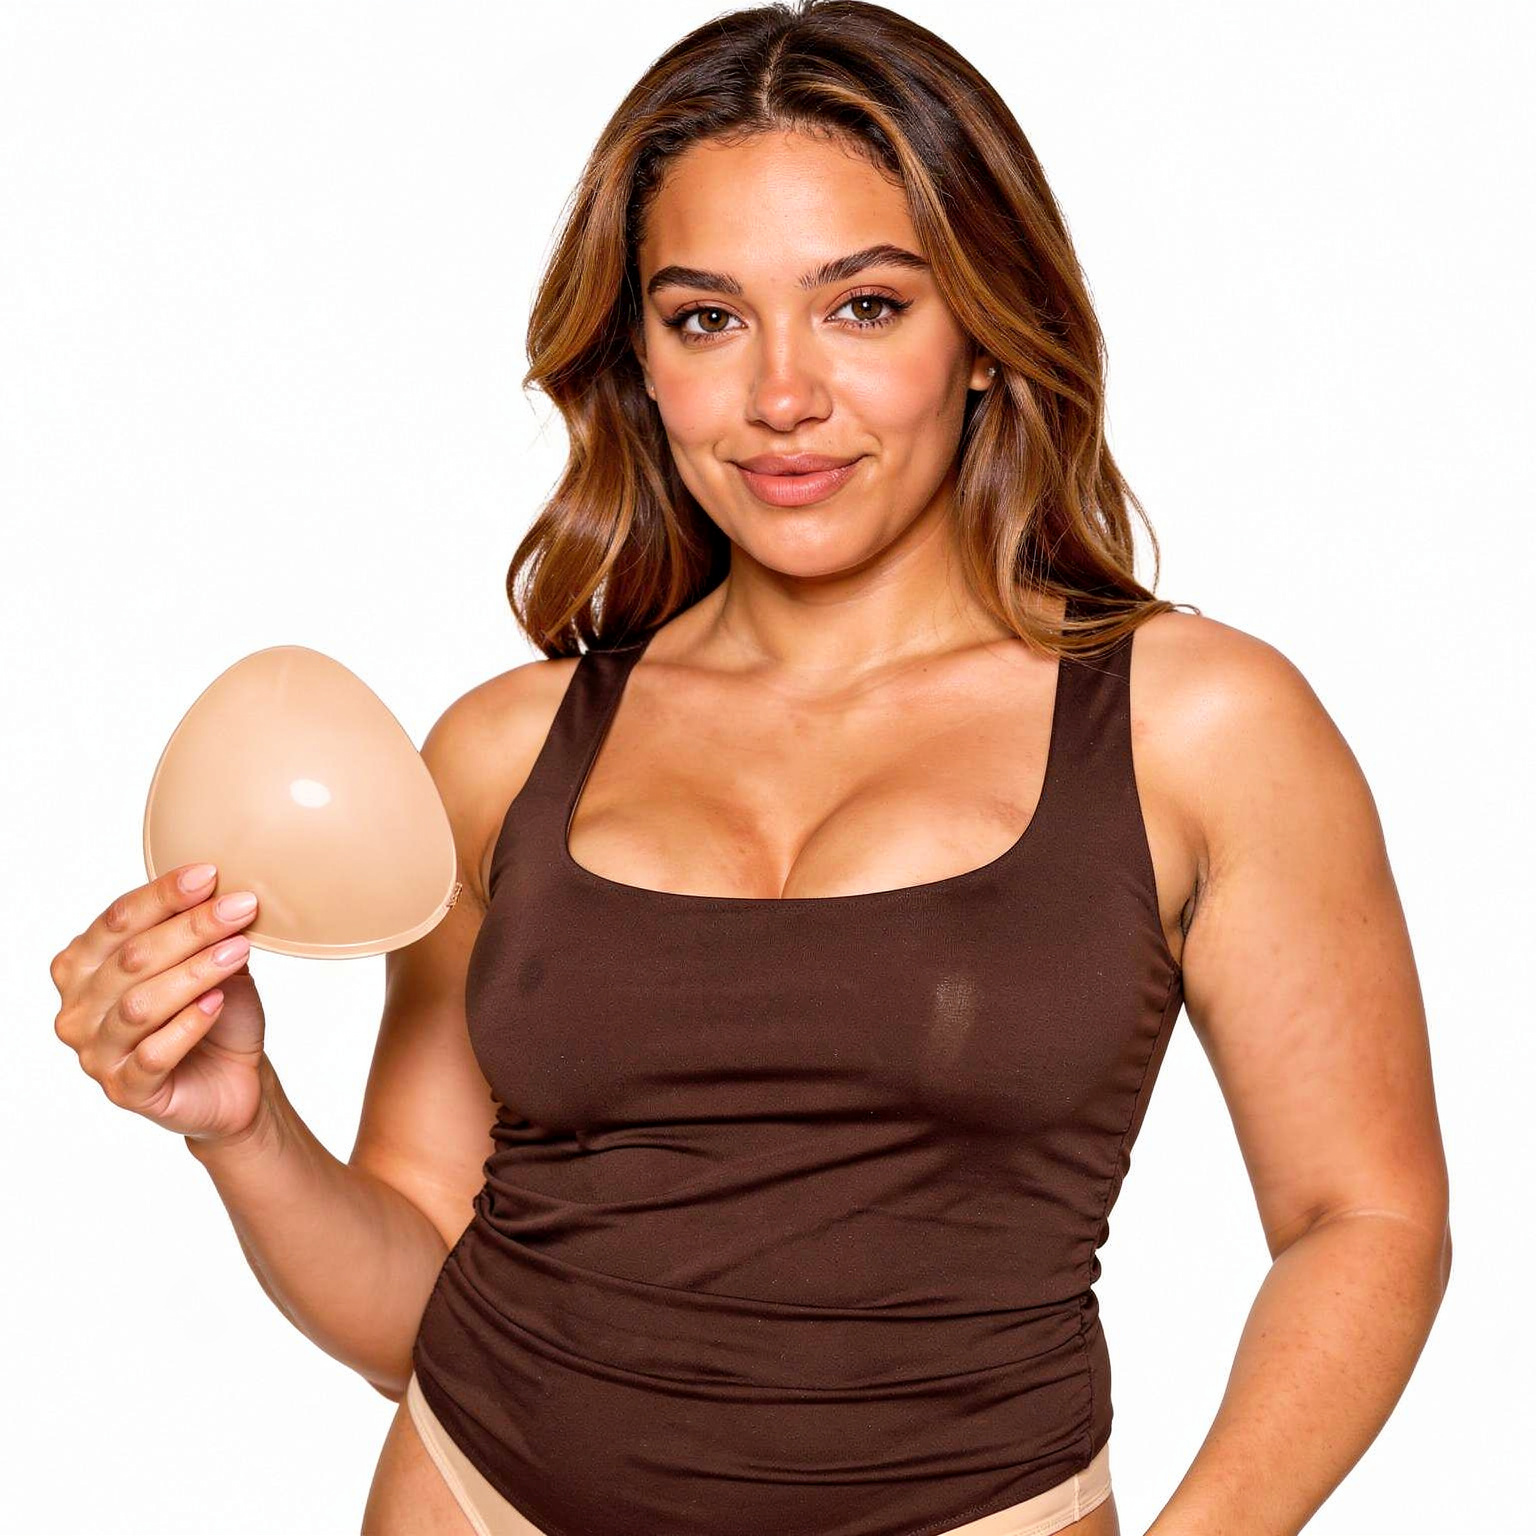
The Boobify Boob Job in a Box™ is designed for exactly this job: a bra-free lift that helps create a raised, rounded shape without straps, bands or a surgeon’s appointment. The key is choosing the correct size for both your cup and band measurement, then positioning for your outfit rather than applying on autopilot.
Avoid the common placement mistake
The temptation is to place any sticky support directly underneath the breast, as though it is a mini bra. That can lift a little, but it will not always produce the centred, rounded look you are after. A more effective placement supports the lower breast while encouraging it up and in, not just up.
Be mindful of the neckline. If the dress is very low at the sides, position support so it remains hidden before you commit. For a deep V, leave enough inner-boob space for the cleavage line to look natural rather than overly compressed. For a halter neck or square neck, lift can be more vertical and slightly less centred.
Choose support based on your boobs, not the label
The best way to create a rounded bust depends on what your boobs need. A smaller bust may be looking for upper fullness and a little more cleavage. A fuller bust may have plenty of volume already, but want it sitting higher and feeling secure in a bra-free outfit. Neither goal is better - they just call for a different fit and placement.
If you have a softer or heavier bust, do not automatically size down in the hope of getting extra cleavage. Too-small adhesive support can struggle to hold comfortably and may create spillover rather than a smooth curve. Properly sized lift gives you a more believable rounded shape because it works with the breast tissue instead of squashing it.
For uneven breasts, fit the fuller side first. Then position the smaller side a little higher or further inwards if needed to balance the appearance. You are styling your silhouette, not passing a maths test. The aim is to feel fab in your outfit, not to achieve laboratory-level symmetry.
Let your outfit help do the work
A rounded bust looks its best when your clothes support the illusion. Necklines that frame the top and centre of the chest tend to show the effect most clearly. Square necks, sweetheart styles, wrap tops, corset-style dresses and structured bodices are all brilliant partners for a lifted shape.
Fabric matters too. A thicker jersey, stretch satin, lined mesh or structured woven fabric can skim smoothly over adhesive inserts and hold a polished silhouette. Very thin, clingy fabric can reveal edges or create texture, particularly if the garment is tight. That does not mean you cannot wear it - simply try the full outfit on at home first, in natural light, and move around in it.
Colour and print can also affect how much roundness you see. Light colours and sheen tend to highlight curves, while dark matte fabrics create a subtler effect. If you want cleavage to be the main event, a simple neckline and minimal chest detail usually work best. If you want lift without drawing loads of attention, choose a higher neckline with a fitted waist.
Get a natural-looking finish
The most convincing rounded bust does not look like two separate circles pushed together. It has a smooth transition at the top of the breast, secure lift underneath and just enough centre fullness for your chosen outfit. Less can genuinely be more here.
Before leaving the house, do a quick real-life test. Raise your arms, sit down, twist at the waist and take a photo from the front and side. Mirror lighting can be kind; your mobile phone camera is more honest. If you spot an edge, a gap or a shape that feels too forced, adjust while you still have time.
Give yourself a few practice runs if you are wearing adhesive inserts for a wedding, holiday, big night out or that date where the outfit has to hit. The first try should not be five minutes before your taxi arrives. Once you know your best placement for a plunge, backless dress or fitted top, getting ready becomes far less faffy.
Keep comfort in the picture
A proper lift should feel secure, not like your skin is being pulled to its limits. Follow the wear instructions for your inserts, remove them slowly and gently, and never apply adhesive products over irritated, broken or sunburnt skin. If your skin is sensitive, test a small area first. Your boobs deserve glamour, but they also deserve kindness.
And remember: creating a rounded bust is an outfit choice, not a correction. Some days you might want big, lifted, centre-stage cleavage. Other days, free-boobing in a tee is the vibe. Having the option to ditch the bra and keep the lift simply means your wardrobe gets to work around your body - not the other way round.


Leave a comment
This site is protected by hCaptcha and the hCaptcha Privacy Policy and Terms of Service apply.