


That dreamy, naturally rounded cleavage in a low-cut dress is rarely about forcing your boobs together until they disappear under your chin. It is about lift, shape and a little clever placement. This natural looking cleavage guide is for girlies who want the fuller, perkier look without the obvious bra edge, painful tape situation or dreaded squashed-boob effect.
The goal is not to create a chest that looks like it belongs to somebody else. It is to make your own boobs sit higher, feel supported and look gorgeous in the outfit you actually want to wear. Whether your boobs are itty bitty, uneven, soft after body changes, saggy, heavy or somewhere in between, a natural result comes down to working with their shape rather than fighting it.
What natural-looking cleavage actually means
Natural-looking cleavage has a soft centre line, rounded upper fullness and enough space for your boobs to look like boobs. Not one compressed shelf. It should suit your frame, your neckline and how much skin you genuinely want to show.
For some, that means a gentle lifted curve in a square-neck top. For others, it means more centred cleavage for a plunge dress. A larger bust may need more upward support than inward pull, while a smaller bust can often create lovely fullness by bringing the tissue slightly inwards as well as up. There is no single perfect cleavage shape, despite what heavily edited photos would have you believe.
The giveaway is usually overdoing it. If the centre is pinched, the skin looks pulled tight or the top edge of your boob has been flattened, ease off. A little less pull often looks more expensive, more effortless and far more believable.
Start with the outfit, not the boobs
Before applying anything, put on the top or dress you are styling. Necklines set the rules. A deep V can take a more centred, lifted shape, while a wide scoop or square neckline usually looks best with uplift that keeps each boob in its own natural position.
Pay attention to where the fabric finishes. If your neckline sits close to the top of your boobs, too much upward lift can create a visible edge or make the fit look strained. In that case, prioritise a rounded lower and middle shape instead. For backless, strapless and thin-strapped outfits, adhesive lift inserts can give you the support of a bra without ruining the whole reason you bought the outfit in the first place.
Try the full look in decent lighting and move around. Sit down, lift your arms, turn sideways and have a little dance in your bedroom. Cleavage that only works while standing perfectly still is not the one, babe.
The natural looking cleavage guide to placement
Clean, dry skin is the starting point. Skip body oil, moisturiser, fake tan residue and powder on the area where adhesive will sit, as these can stop it gripping properly. If you have sensitive skin or are trying a new adhesive product, do a patch test ahead of your event and follow its care instructions.
Lift first, then bring them together
The biggest mistake is placing both boobs towards the centre before creating lift. That is how you end up with cleavage that looks squashed rather than sculpted.
Start by gently lifting one breast with your hand to the height you want. Think upwards and slightly inwards, not sideways with all your might. Apply your insert or support while holding that position, smoothing it onto the skin rather than rushing. Repeat on the other side, then check the overall shape before making any small adjustments.
For a softer, everyday result, keep the direction mostly vertical. This is especially flattering if you have a fuller bust, wider-set boobs or prefer a more subtle silhouette. For a deeper neckline, angle the lift a touch more towards the centre. The aim is for the inner curves to meet naturally, with a little valley between them rather than a harsh pressed line.
Do not chase identical boobs either. Most of us have one boob that sits higher, is fuller or points in a slightly different direction. Use placement to balance the shape instead of applying both sides in exactly the same spot. The lower or smaller side may need a fraction more lift or a slightly more inward angle. Tiny changes make a huge difference.
Check from three angles
Look straight on, then turn to each side. From the front, you want soft, even-looking fullness. From the side, you want a lifted curve rather than a flat or overly pulled breast. Finally, look down into your neckline. This is where you will spot a visible insert edge, a gap that needs adjusting or too much centre compression.
If something looks off, remove and reapply gently rather than trying to yank it into place once it is stuck. Taking an extra two minutes at home beats spending the whole night tugging at your dress in the loo.
Give your boobs the support level they need
Natural cleavage is not only a small-boob conversation. Heavy boobs deserve cute, bra-free outfits too, and they often need a product designed for actual lift rather than a tiny sticky cup that gives up by dinner.
Choose support according to your breast size, band size and outfit, not the size label you wish you wore. If you are fuller-busted, a broader adhesive area and stronger upward hold can create a more secure, natural shape. If you are AA to B cup, you may want a design that adds visible upper fullness as well as lift. For mature, softer or post-baby boobs, lift can be particularly flattering when it is placed high enough to reshape the silhouette without dragging the tissue too tightly towards the centre.
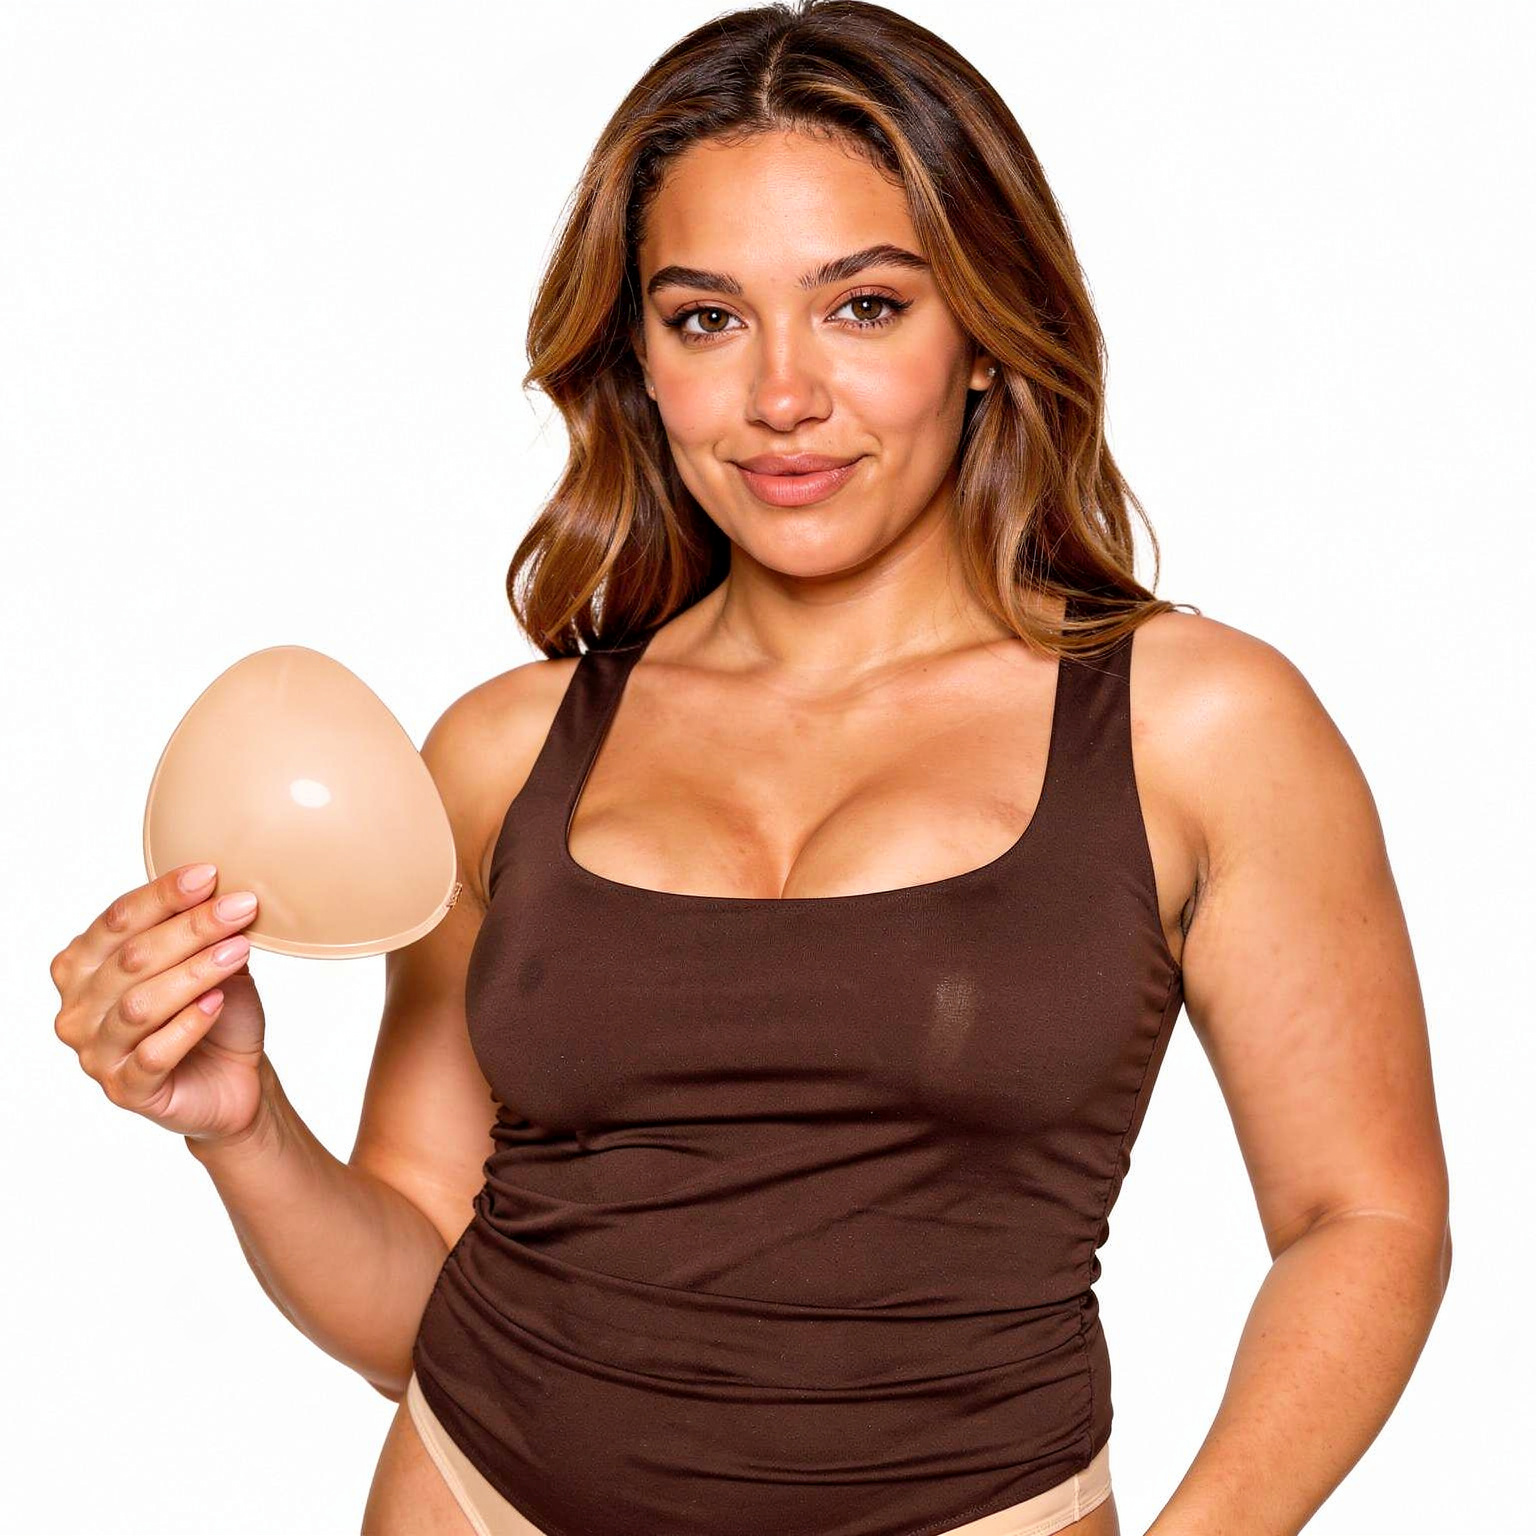
Boobify's Boob Job in a Box™ is made for this real-life range, with options from AA to O cups and inclusive band sizing, so you do not have to pretend one flimsy solution works for every set of girlies. Choosing a nude or brown tone close to your skin can also keep things discreet under lighter fabrics or a more open neckline.
Four ways cleavage can look less natural
A few common habits can turn a great outfit into an uncomfortable night. Avoid these and your lift will look far more like it came naturally.
- Pulling both boobs straight towards the centre before lifting them upwards.
- Applying adhesive over oily, damp or irritated skin and expecting it to stay put.
- Wearing a support shape that is too small for a fuller bust, leaving edges visible or creating spillage.
- Styling super-high, super-tight cleavage with a neckline that does not have room for it.
Make it last through the plans
Save your first full application for a low-stakes try-on, not ten minutes before a wedding, birthday dinner or holiday night out. You will learn where your boobs naturally sit, how your chosen top behaves and whether you prefer a subtle or fuller finish.
Keep the application area free from oils and avoid applying to broken, sunburnt or irritated skin. When it is time to remove adhesive support, go slowly and follow the product instructions. A warm shower can help if needed. Look after reusable inserts exactly as directed too, because clean adhesive surfaces are what keep the hold reliable wear after wear.
Your most natural cleavage will not be copied from somebody else's before-and-after. It will be the version that lets you put on the dress, catch your reflection and think: yep, these are my boobs, just having a very good day.


Leave a comment
This site is protected by hCaptcha and the hCaptcha Privacy Policy and Terms of Service apply.